
Movie Night Charcuterie
Hey dudes! Lex, from “Party With Lex” here, smack dab in the middle of quarantine! Being a single mother, with a part-time job and a full-time business, it’s easy to get bogged down with the everyday demands of life. And it’s even easier to let some things slip through the cracks. For some time now I have wanted to try my hand at making a charcuterie board, as well as, photography. After watching dozens of Youtube videos, scrolling numerous Instagram posts and a little help from a couple of friends, I finally gave it a shot! So from one beginner to another, here are some helpful tips and tricks that I used to put together my very first charcuterie board that is sure to add an extra special touch to your next family night gathering… of under ten people, of course. (Also, be sure to check out the links at the end of the post if you’d like to learn more about photography.)
First, you’ll need SUPPLIES! With there being a global pandemic currently going on and lots of people being out of work, you should be able to find most of these items laying around the house. These items would include a cutting board (a serving tray will also do), three small bowls or containers of some sort, and a plastic popcorn box. Although, the ladder of the three may seem pretty hard to come across, with the summer time quickly approaching, you can find these at your local Target in the Target Dollar Spot for only $3.00 a piece. They come in red, yellow, and blue, so feel free to switch up your color palette and have some fun with this project. I, personally, got mine and most of my materials, from the Dollar Tree, which is where you’re sure to get the biggest bang for your buck! There, you can purchase popcorn dishes, year-round, two for a dollar.

2. Next, your’e gonna need some MOVIE THEATER CANDY for the fam to snack on during the flick. Again, I picked up most of these items from the dollar store, but you should also be able to get movie theater sized candy at any of your local grocery stores for about the same price. I bought just about every candy there was to get, but make sure to pick up some family favorites. My son loves Whoppers and Sour Patch Kids and my boyfriend wanted Reeses M&Ms, as well as, the new fudge brownie flavor. I am a fan of yogurt covered pretzels and Raisenettes (which I forgot to get.) So be sure not to forget about yourself when shopping for the food. Also, with it being a movie night theme be sure not to forget the most important part… POPCORN!

3. The third and final step is BUILDING YOUR BOARD! Probably the most fun, yet, most intimidating part of this whole process. But no worries! There is really no wrong or right way to go about it. However, through careful observation, I’ve learned a couple of tips that’ll help you along the way.
First, you want to place your bowls and popcorn dish on your tray. The easiest way to start off your board would be to place the items that are the most stable first (i.e. Twizzlers, yogurt covered pretzels, Swedish fish, etc). This will work as an anchor for your board, for lack of better words. These items will form a barrier between the more loose and “roll-y” items (i.e. Whoppers, M&Ms, Mike ‘N Ikes, etc.)

Another little trick I used, was that I put some Mike ‘N Ikes in the bottom of the popcorn box to anchor it as well. Because popcorn is so light an airy, I didn’t want the other items to push it over the edge of the tray!
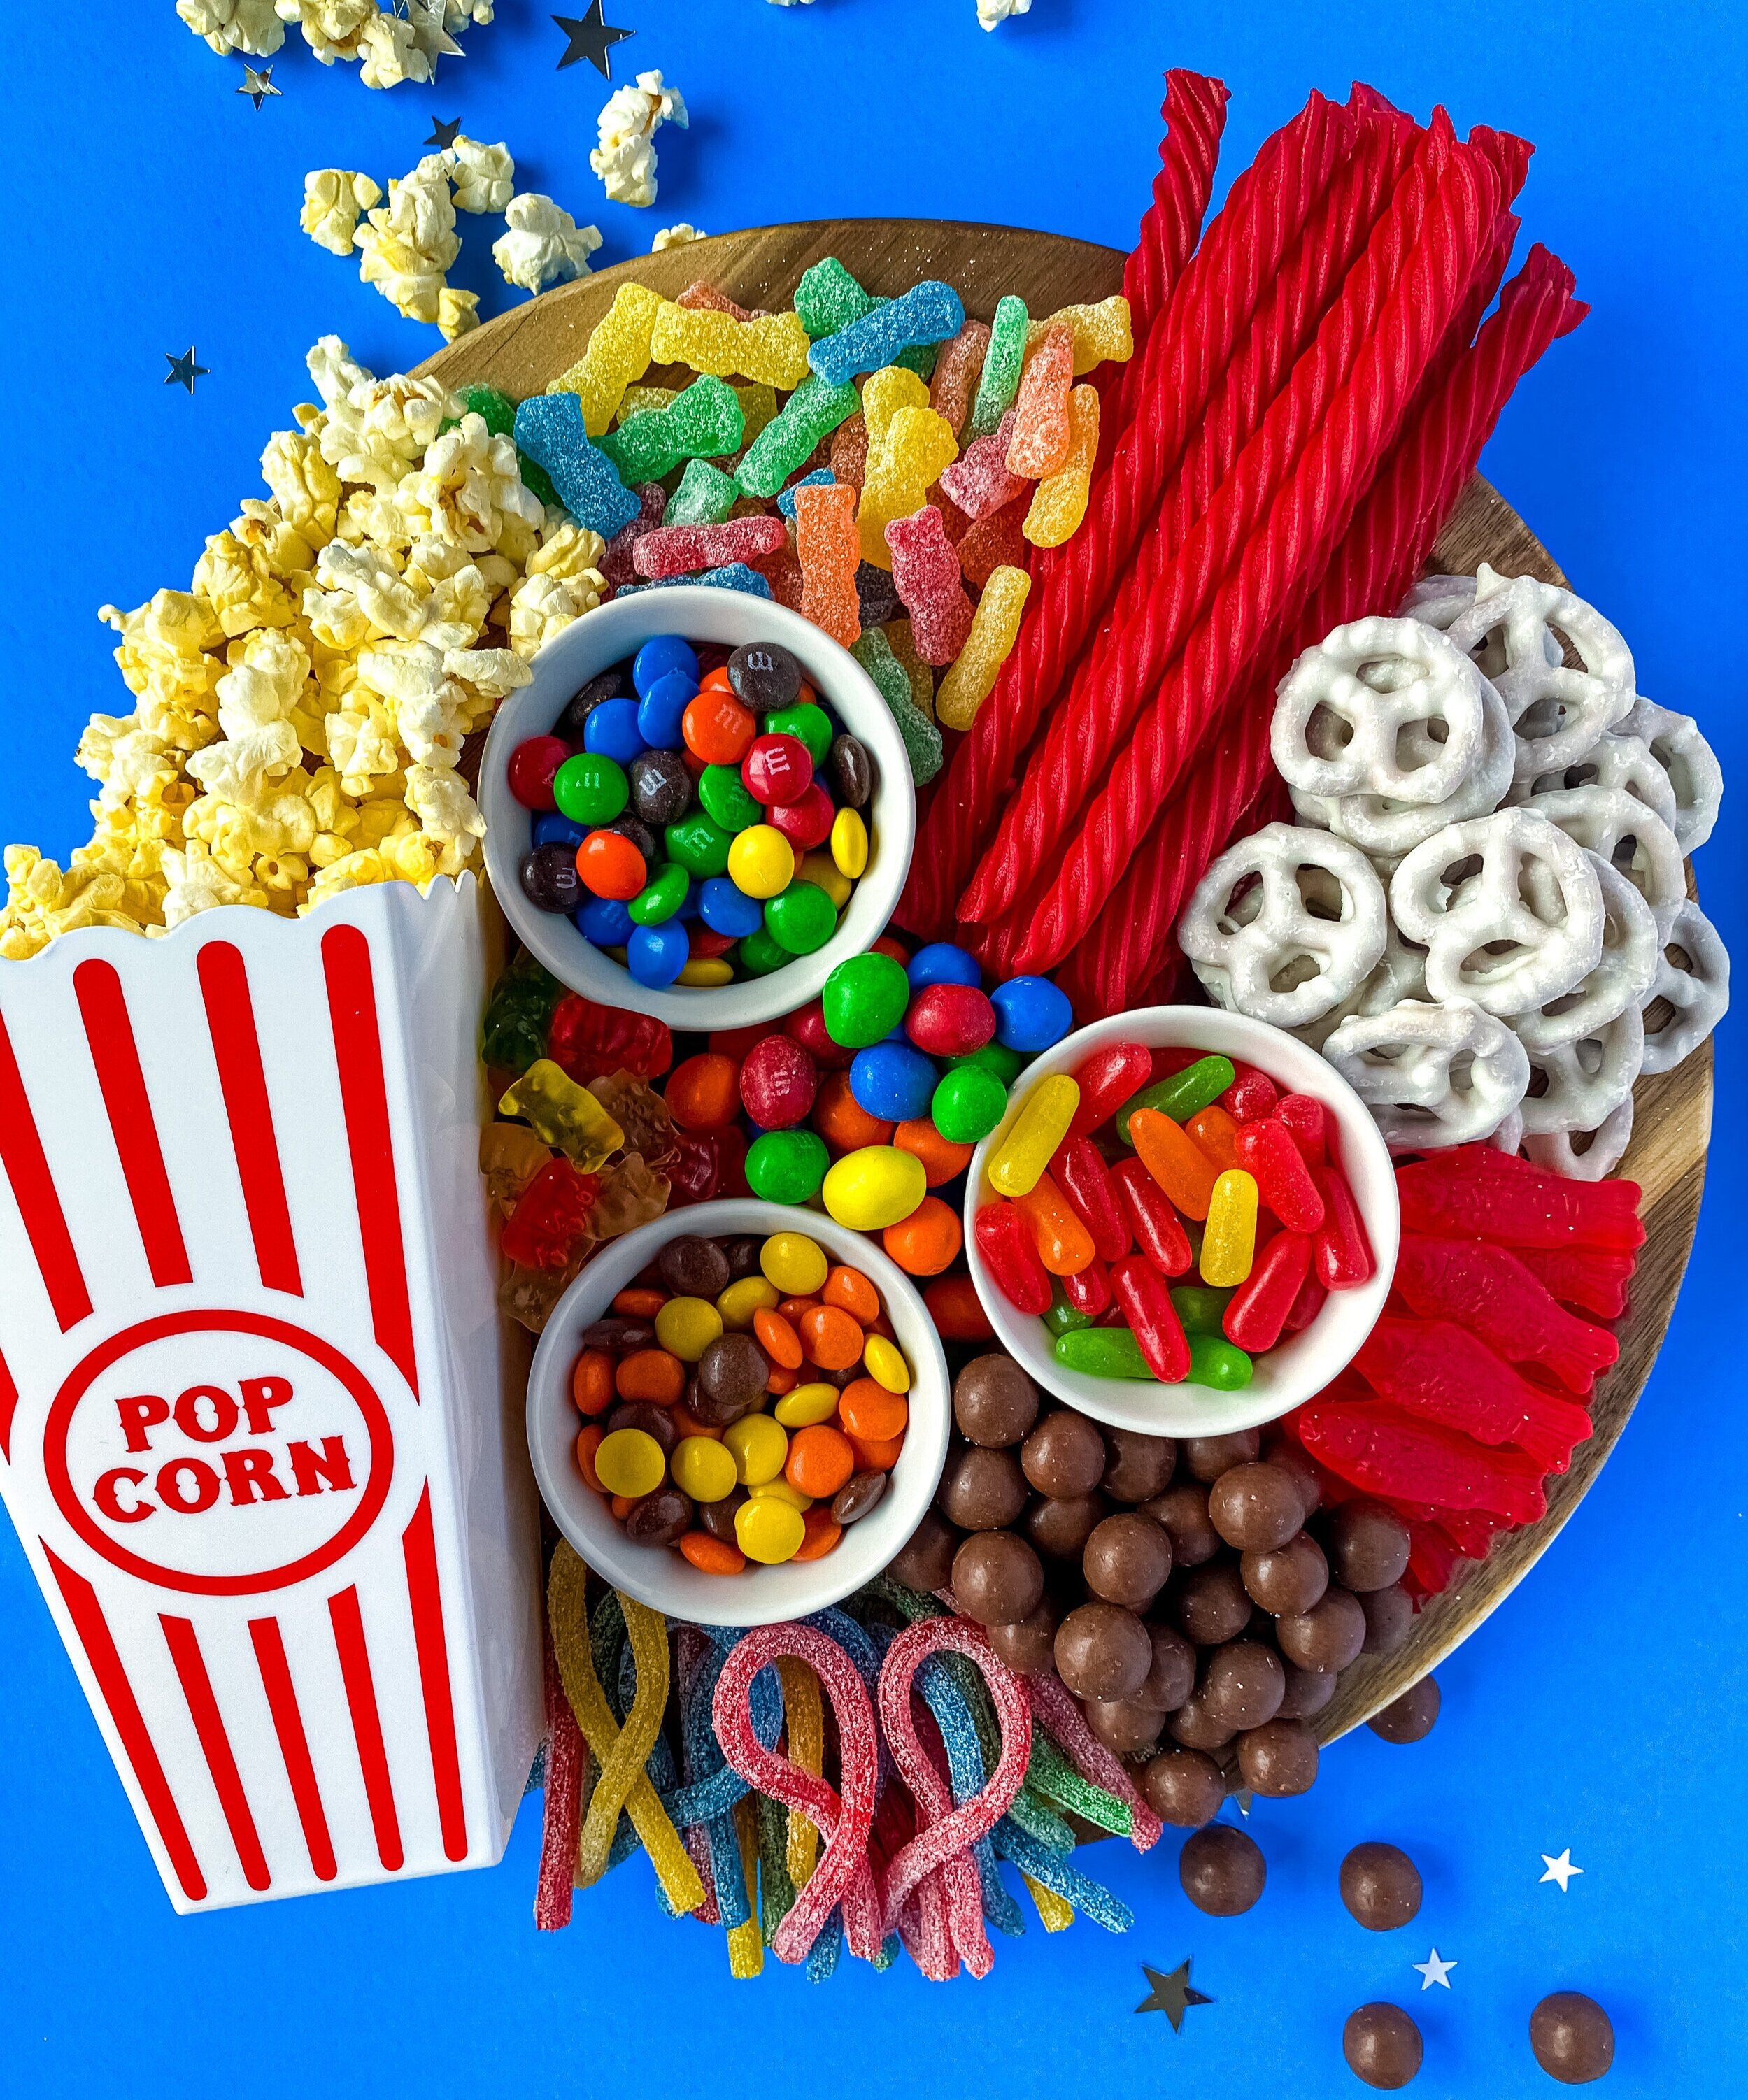
Next I added the popcorn, because I knew that it was a staple for this project and I wanted to build the rest of the board around it. After all, you can not have movie night without popcorn! When it came to adding the rest of the candy, I carefully placed it around the tray. Again, there is really no wrong way when it comes to placement. Have fun with it and be sure to expirement with different candies and colors. I did try to be mindful of NOT placing similar solid colored candies right next to each other for aesthetics (i.e. no red candies directly next to another red candy, like Twizzlers and Swedish Fish).

TIP: When building any kind of charcuterie board, you want to make sure it is nice and full, so add plenty of candy! You should not be able to see the bottom of the board so be mindful of empty spaces.
In the end, I did experiment with a couple of different placement ideas and decided to switch a couple of things around. I pushed the bottom two bowls together to create more of a barrier for the loose candies in the center of the board. I also opted for gummy bears, as opposed to Mike ‘N Ikes, next to the popcorn dish because the weight of the Mike ‘N Ikes was too much next to the light weight of the popcorn. Lastly, I switched out the Good ‘N Plenties for a different candy, cuz let’s get real… Who the heck eats Good ‘N Plenties???!

Over all, I think my first attempt at this turned out to be a success. I hope that these tips are helpful in making your first shot at charcuterie boards a success too! It sure was a hit for family movie night, but it would also be a great idea for game nights, date nights, girls night in- the possibilities are endless! I am looking forward to trying out some new themes which I’ll also be sure to post in the near future. So be sure to stay on the lookout for my next blog. Be sure to stay safe, and don’t forget… WASH YA HANDS!
Also, don’t hesitate to leave a comment below (I do read them) if you have any questions or tips of your own to add. I’d also love to see some pics of your charcuterie boards should you attempt one during this little nationwide “vacation.”
Lastly, be sure to check out these awesome links if you’d like to learn more tips on how to get the perfect product shot for your very own blog or social media page!
How to Shoot Food On Your Phone Like A Pro
Easy Tips for Better Instagram Food Photos (Instantly)
-Lex
(Photo Creds - Yours Truly!)